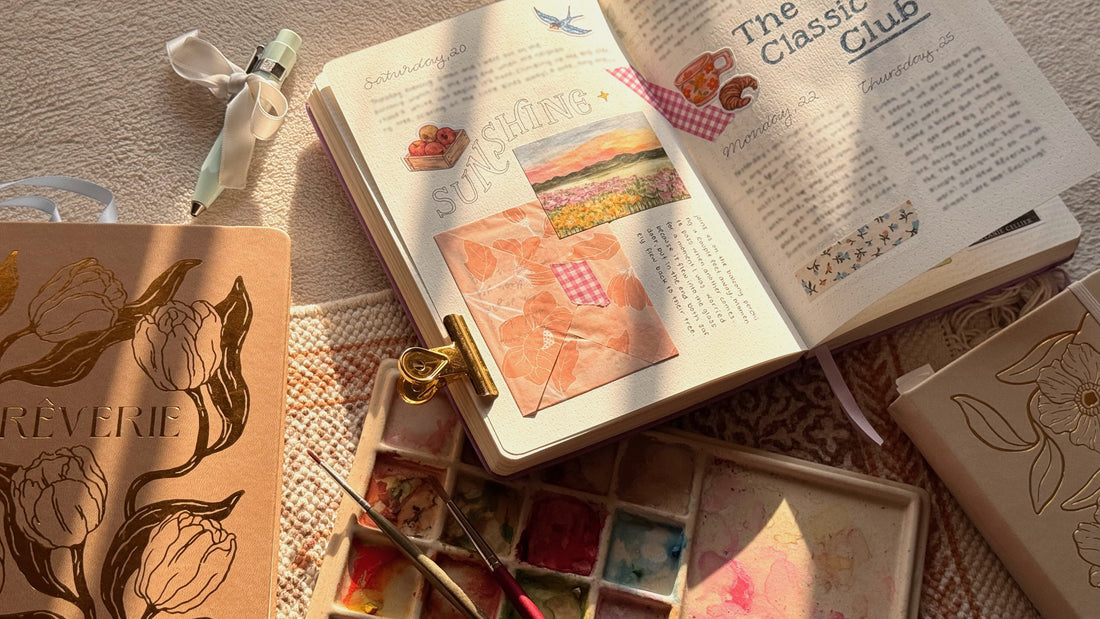
DIY: Create the Perfect Envelope for Your Journal
Share
Looking to add an aesthetic touch to your journal pages but running short on ideas? Have you thought about making homemade little envelopes to tuck your small papers into? In this article, discover how to easily and quickly create charming envelopes perfectly suited for your notebook.
Why Add Envelopes to Your Journal?
Envelopes add both practicality and aesthetic appeal to your journal. They allow you to keep your memories safe while beautifying your pages. Whether it's for storing various small items like movie tickets, airline boarding passes, letters, stickers, or anything else, an envelope can become a key element in your creations.

How to Create Your Envelope Step-by-Step
Materials Needed:
-
A sheet of paper of your choice
-
Ruler and pencil
-
Scissors
-
Glue
- Washi tape.
Instructions :
-
Draw the Template: On your paper, draw a square measuring 7" x 7" (17.5cm x 17.5cm), adjust dimensions based on your desired envelope size. Note: If using tissue paper, double the width to 7" x 14" (17.5cm x 35cm), then fold the rectangle in half to create a thicker, sturdier base.
-
Cut Out the square.
-
Fold the side edges towards the center. Fold the bottom slightly above the middle, then fold the tip inward for a neat finish.
-
Fold the top part downwards towards the middle to close your envelope.
-
Glue the bottom to secure your envelope, leaving the top open.
-
Optional: Use washi tape to seal your envelope.
Your envelope is now ready to be added to your journal!
Experiment with Different Types of Paper
To make your envelope even more special, try varying the paper types:
-
Gift wrap: Offers colorful, festive patterns. Save wrapping paper from gifts to add sentimental value.
-
Packaging paper: Brands often use kraft paper for shipping, perfect for envelopes.
-
Tissue paper: Many brands wrap products in tissue paper; give them a second life!
-
Patterned paper: Easily found in craft or stationery stores, perfect if you don't have other decorative paper handy.
Creative Tip: Empty tea bags can serve as unique, minimalist mini-envelopes!

Attach Your Envelope to Your Journal
Once your envelope is ready, you can attach it aesthetically in multiple ways:
-
Classic glue: Simple and effective for permanent attachment.
-
Washi tape: Adds decorative detail and allows removal if needed.
-
Double-sided adhesive: Discreet and efficient.
-
Stickers: Decorative and functional for fixing envelopes.
Decor Tip: Frame your envelope with washi tape for a stylish effect.

What to Put Inside Your Envelope?
Now that you have a lovely envelope, here are some ideas of items you could store inside:
-
Photos of special moments (Polaroids are perfect!)
-
Tickets from cinemas, museums, or even receipts
-
Small notes or quotes (fortune cookie slips are great!)
-
A letter to your future self
-
Stickers and cutouts for future decoration
-
Packaging from products you've bought (some brands have beautifully designed packaging)
-
Flat objects, like dried flowers or stamps

Choosing Your Envelope Size
Feel free to play around with different sizes:
-
Mini envelopes: Ideal for small notes or stickers
-
Medium envelopes: Great for tickets, photos, or drawings
-
Large envelopes: Perfect for letters or bulkier memorabilia like flyers

Conclusion
Creating envelopes for your journal is a relaxing and creative activity that adds a unique touch to your pages. With these simple steps and tips, you can now customize your journal while preserving your favorite memories.